Easy to Draw Pictures of an Ax
An axe is a simple yet effective tool that can come in handy in a wide variety of situations. It could simply be used to chop wood for a fireplace or even be used in a dire survival situation.
No matter the use, they can also come in many different shapes and sizes in order to suit that wide variety of needs and purposes. If you would like to design the perfect axe, then learning how to draw an axe is a great way to do that.
You're in the right place if this is your goal!
Our step-by-step guide on how to draw an axe will show you just how it is done.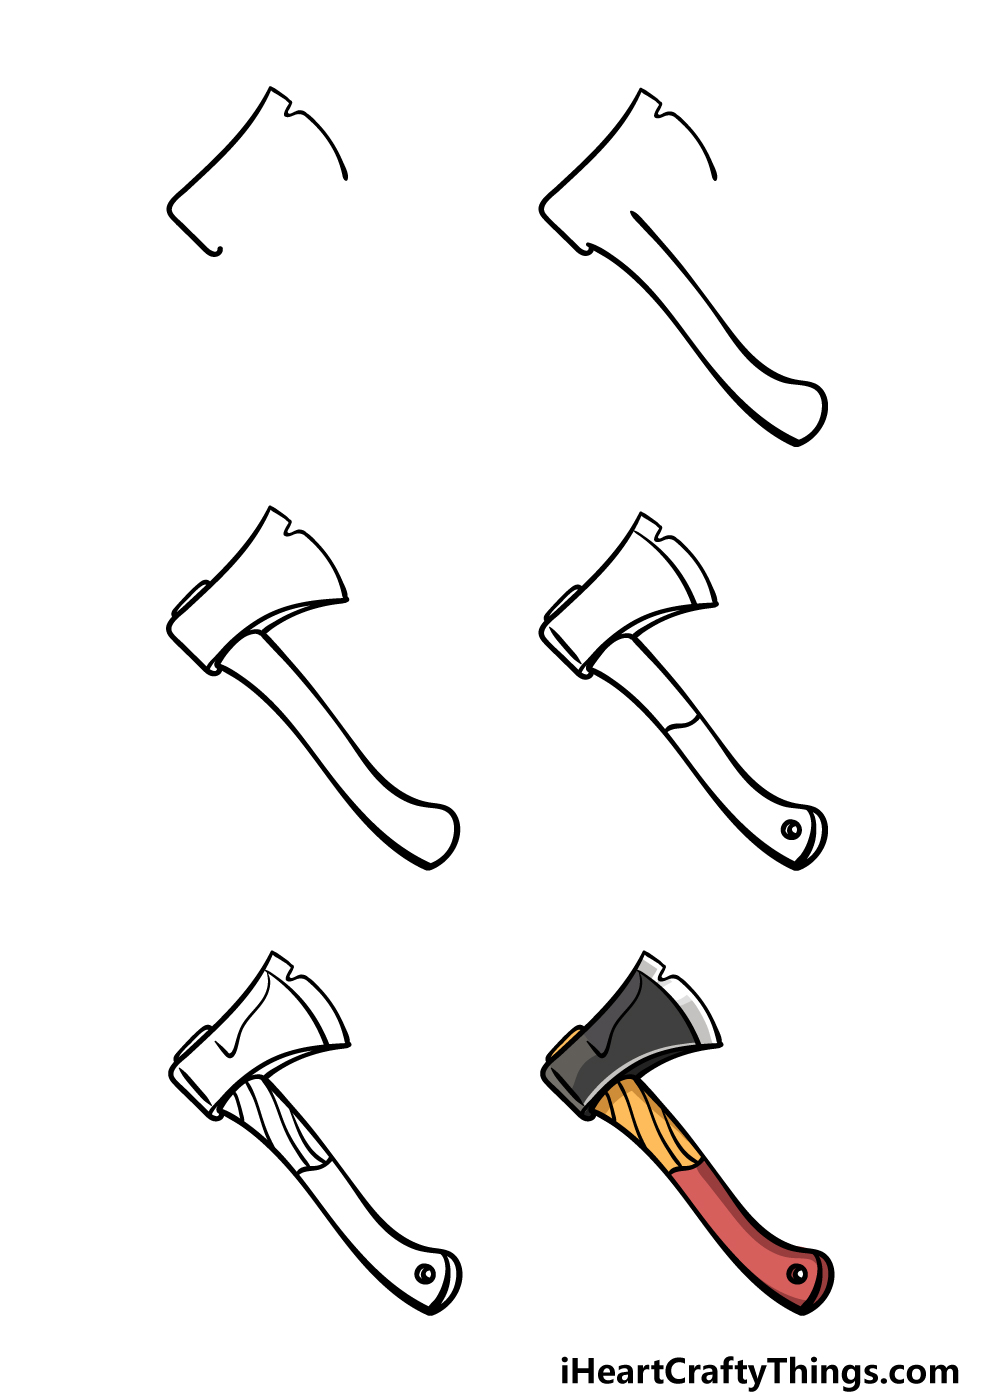
What's in this Blog Post
- How to Draw An Axe – Let's Get Started!
- Step 1
- Step 2 – Next, draw the handle of the axe
- Step 3 – Draw the rest of the blade outline
- Step 4 – Now, draw some detailing for the axe
- Step 5 – Finish off your axe drawing
- Step 6 – Finish off your axe drawing with some color
- Your Axe Drawing is Complete!
How to Draw An Axe – Let's Get Started!
Step 1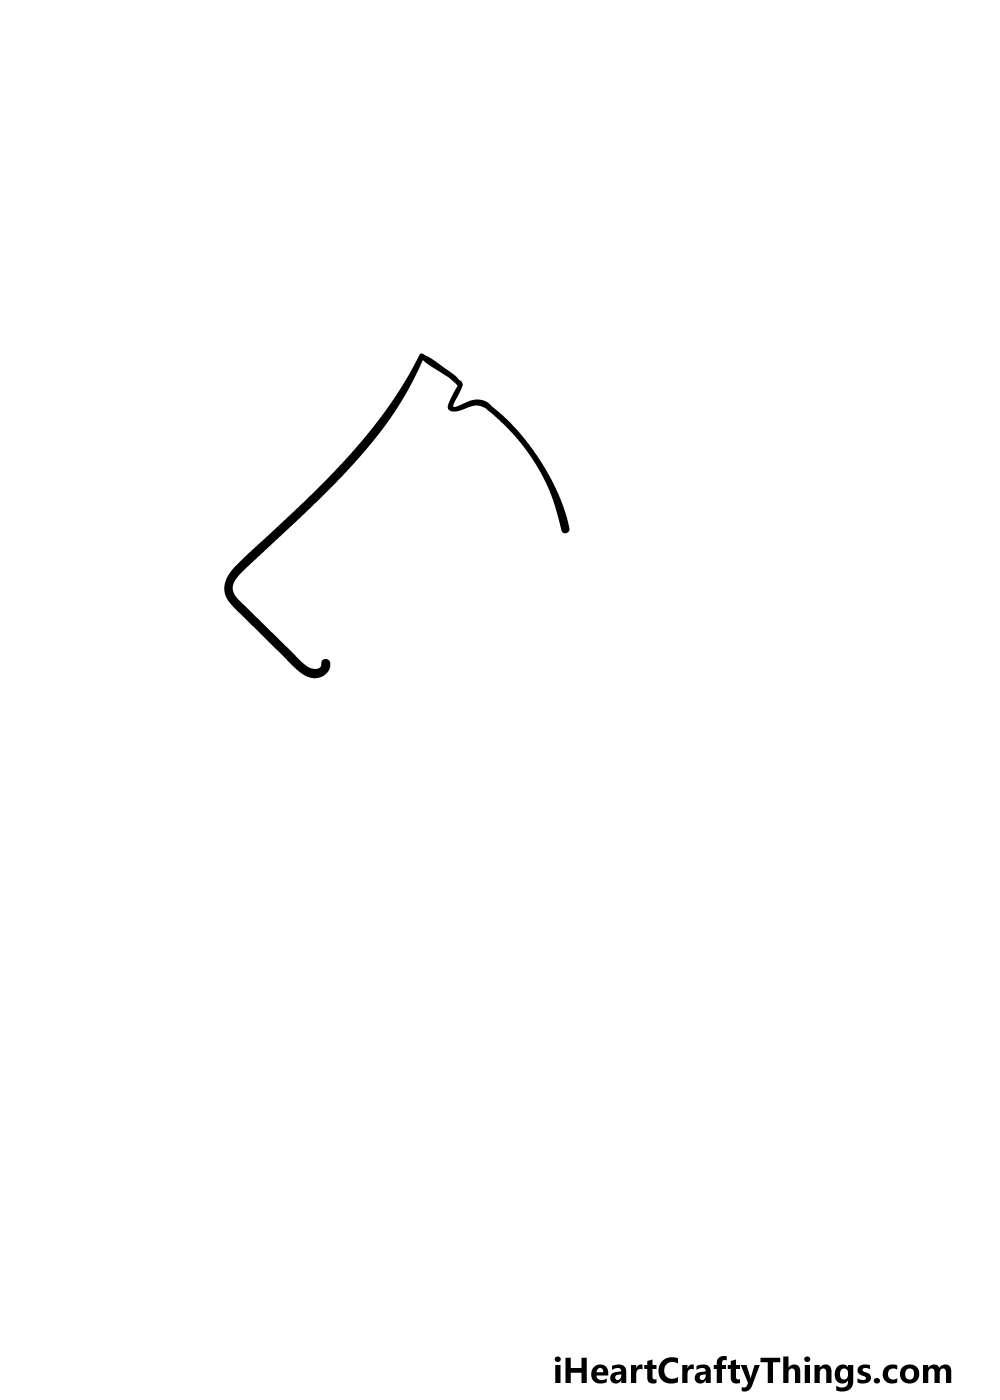
To get this guide on how to draw an axe going, we shall start with the blade of the axe. To draw the blade outline, we will be using a mixture of curved and straighter lines.
The edge that the wood will be attached to will be only slightly curved, whereas the others will be a bit more curved. We will also be drawing a small nick on the sharp side of the blade.
We will be leaving the bottom of the blade open for now, as we will add some more detail to that part in a later step. Speaking of which, when you're ready we can move on!
Step 2 – Next, draw the handle of the axe
Without a handle, an axe would be impractical and little more than a very sharp paperweight. That is why we shall add a nice handle for it in this next step of your axe drawing.
The handle has a rather specific shape to it, so as you draw you may want to refer closely to the reference image.
The handle will be drawn with a rather curvy line, as we don't want it to be a straight piece of wood.
The part that attaches to the base of the blade will be a bit wider, and then it will get narrow and wide again as it moves lower. Finally, the bottom of the handle will be a bit rounded as well.
Step 3 – Draw the rest of the blade outline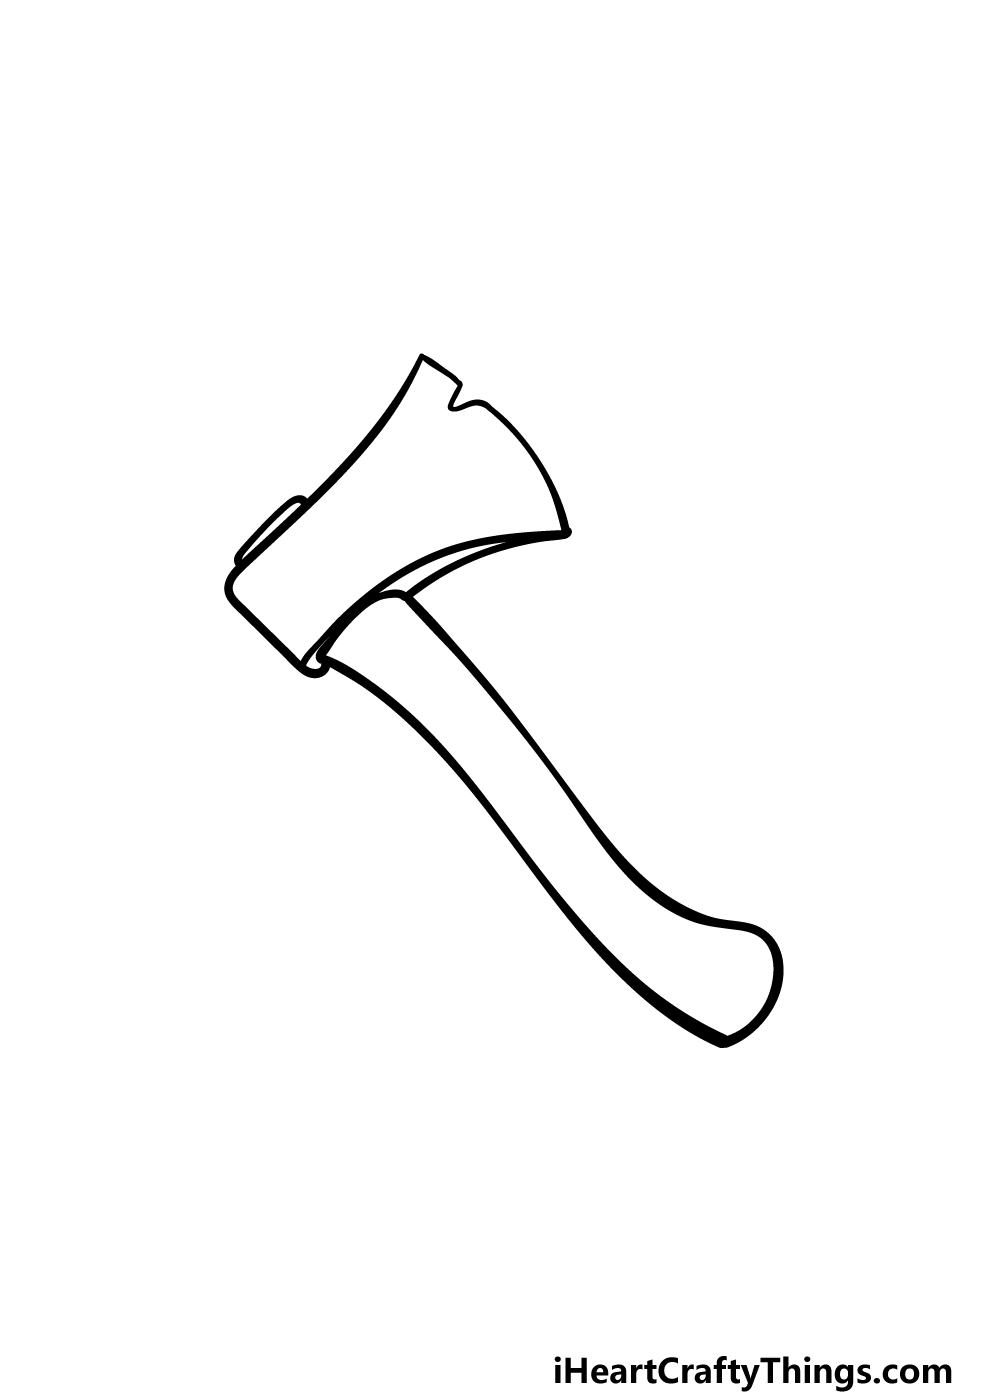
This third step of our guide on how to draw an axe will see you finishing the outline for the blade of the axe.
To do this, extend another curved line from near the left-hand side of the base of the blade and over to the sharp edge on the right-hand side.
The metal part of the axe will have the handle sticking into it, and you can draw a narrow shape on top of the blade for the top of the handle sticking out.
That will finish off the outline for the entire axe, and in the next few steps we can begin on the finer details for it.
Step 4 – Now, draw some detailing for the axe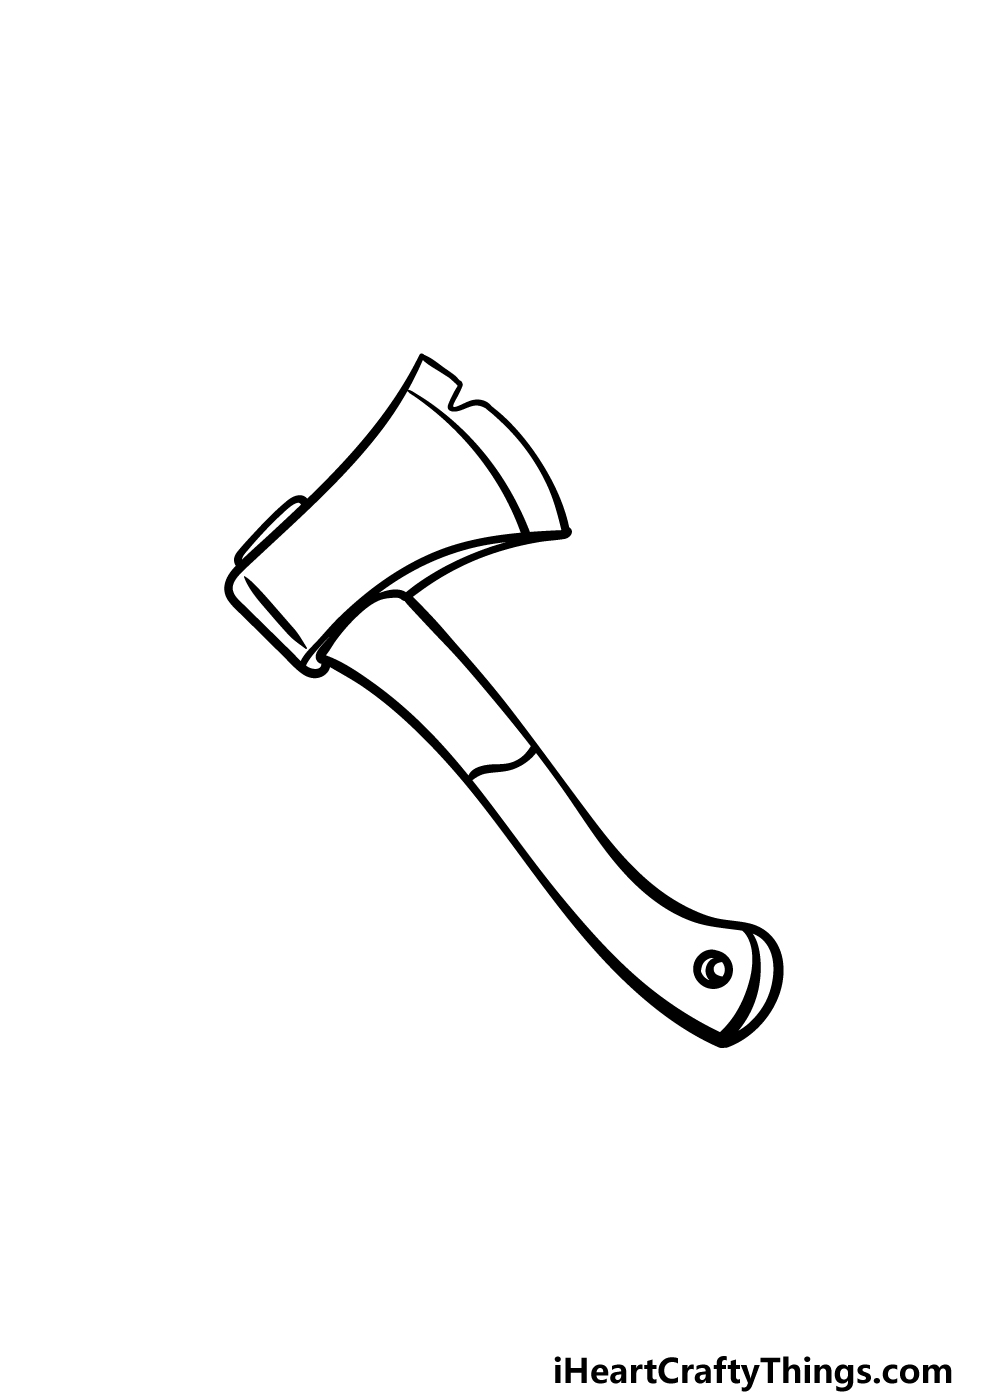
As we mentioned in the previous step of your axe drawing, we will start to add some detailing to the axe in this next step.
These details will be quite small and simple, yet they will be effective in making the axe look more realistic.
First, draw a line near the sharp tip of the blade, almost but not quite touching the neck in the blade that you drew. There will also be a straight line near the back edge of the blade for another subtle detail.
Finally, draw a slightly curved line near the halfway point of the handle, as this will show where the wood and the covering for the handle begins and ends.
You can also draw a small circle near the tip of the handle to finish off this step. Then it's time to add some final details in the next step of the guide!
Step 5 – Finish off your axe drawing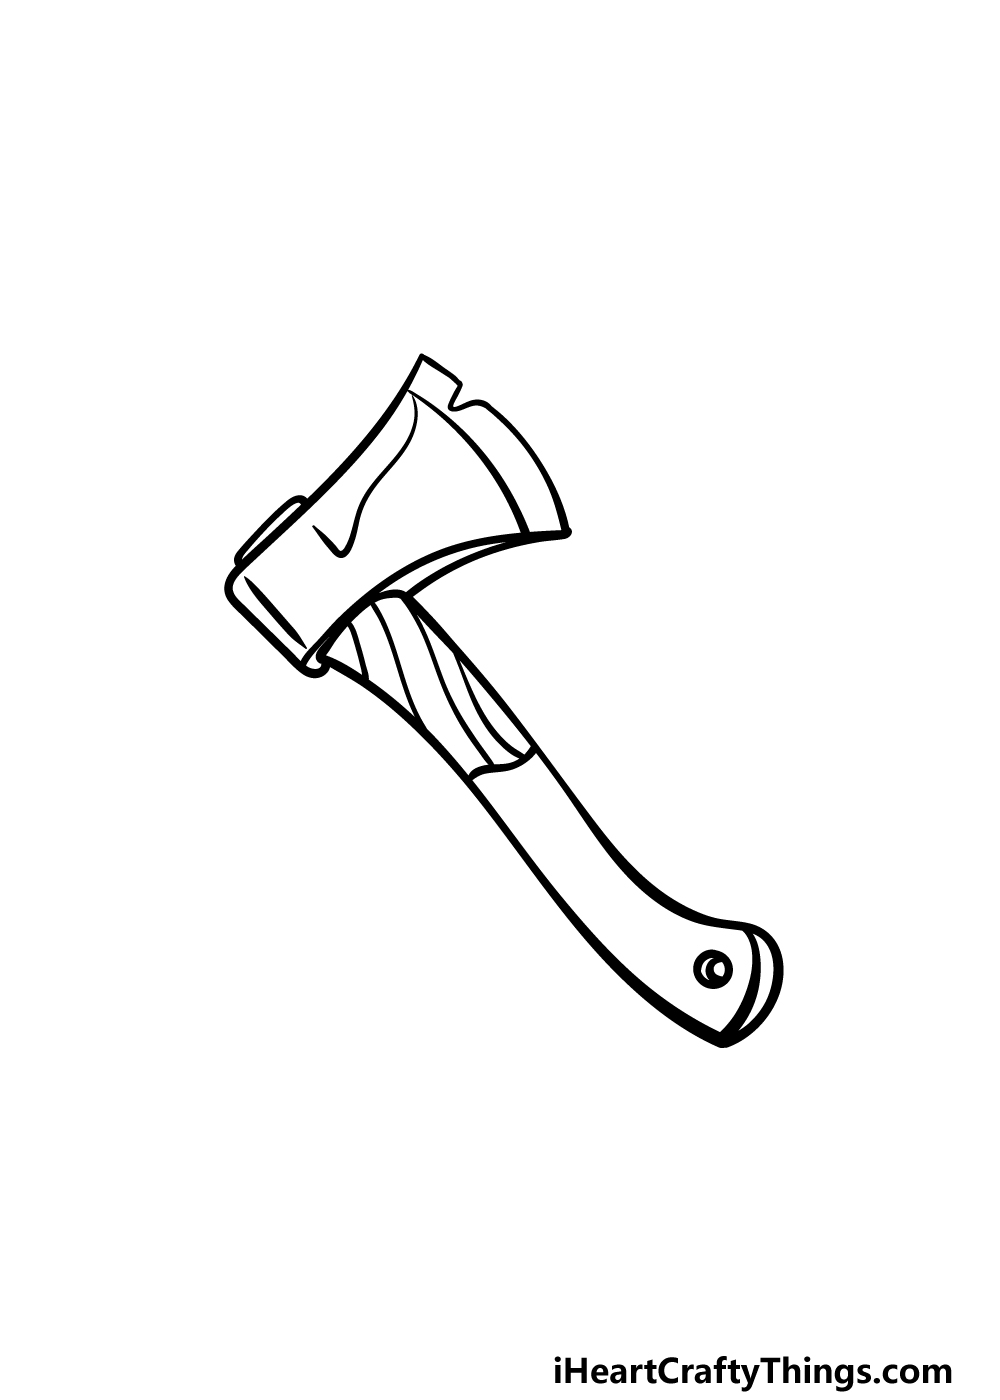
It's almost time to add some colors to your picture, but first we need to finish off the final details in this step of our guide on how to draw an axe.
Once again, these details should be simple yet effective! First, draw a curved, angular line onto the blade of the axe. Then, you can draw some wa across the top half of the handle to show the grain in the wood that it is made of.
Once these details are drawn, you're ready to move on! Before you do, you could also add some extra details and additions.
Maybe you could draw the axe sitting on a table with some other pieces of gear that you would use it with. What kind of background or extra details can you think of to add that would take this to the next level?
Step 6 – Finish off your axe drawing with some color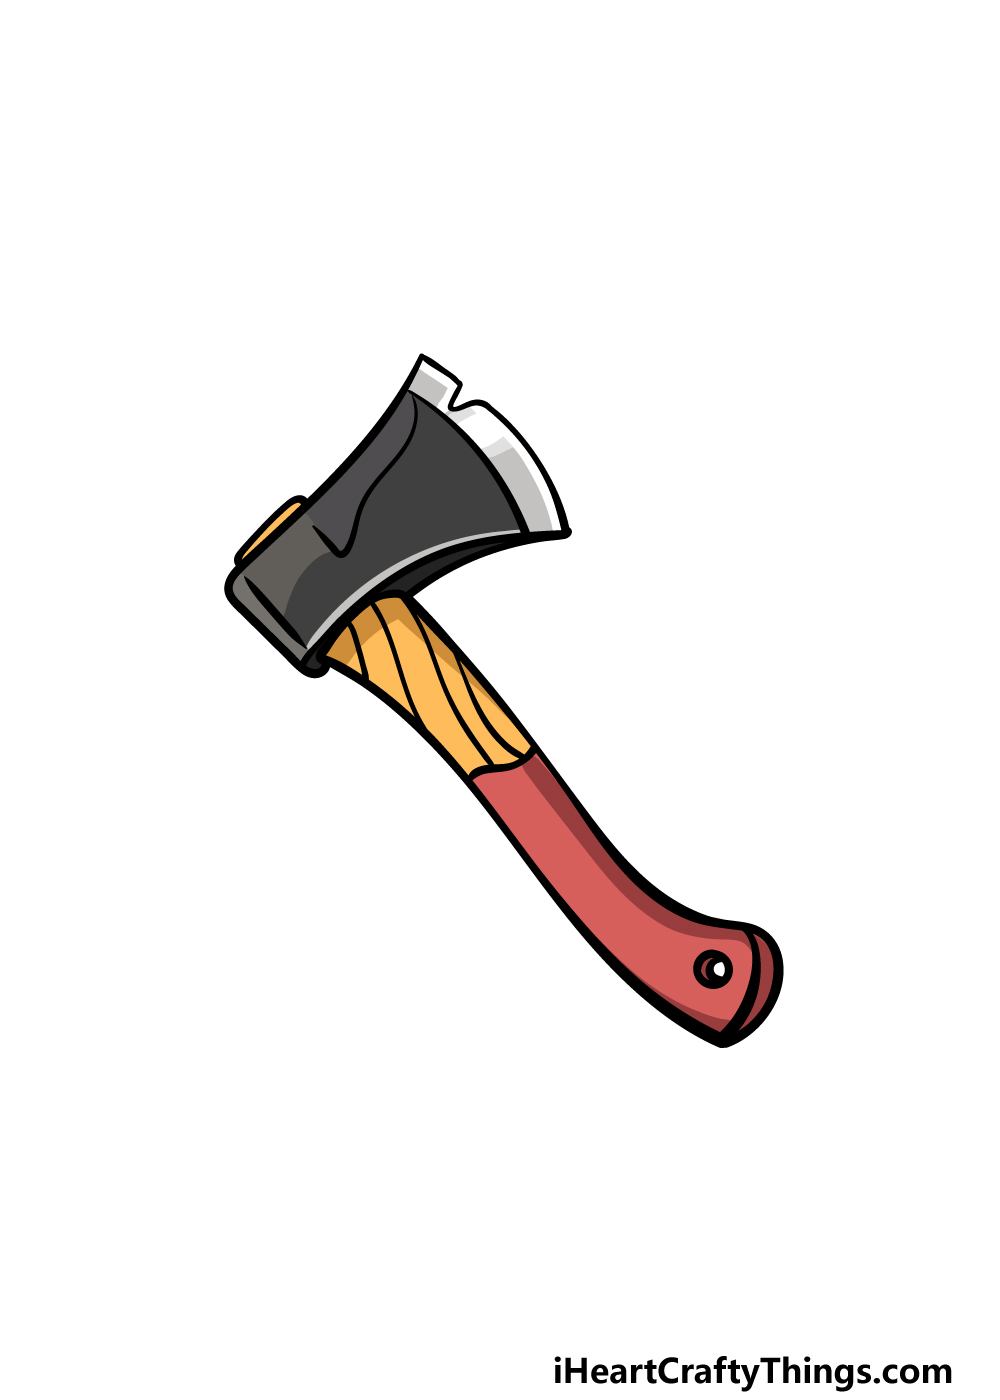
You have reached the final step of your axe drawing, and in this one you will be able to finish off with some amazing colors!
In our reference image, we used a dark grey for the blade, and left the tip in a very light grey. We used a variety of lighter browns for the wooden section of the blade, and then finished off with some reds for the covered part of the handle.
These would be our color choices, but they are merely a suggestion! You could use any additional colors you love for it, and then have some fun choosing the art mediums and tools you will use to achieve them. Be sure to have fun with it and see what happens!
Your Axe Drawing is Complete!
That will finish off this guide on how to draw an axe, and we hope that the guide made it fun and easy for you to draw!
Drawing what seem like simple objects can often be harder than expected, so we tried to eliminate as much frustration as possible in this guide.
Now, be sure to add any additional details, extra elements or creative color choices you may want for it!
Then you can keep the drawing fun going by checking out more of our drawing guides on our website. We have many more coming soon, so be sure to keep checking in!
We would be interested to see how you completed this axe drawing, so please do share your artwork on our Facebook and Pinterest pages when it is ready!
trujilloanyinquity.blogspot.com
Source: https://iheartcraftythings.com/axe-drawing.html
0 Response to "Easy to Draw Pictures of an Ax"
Post a Comment